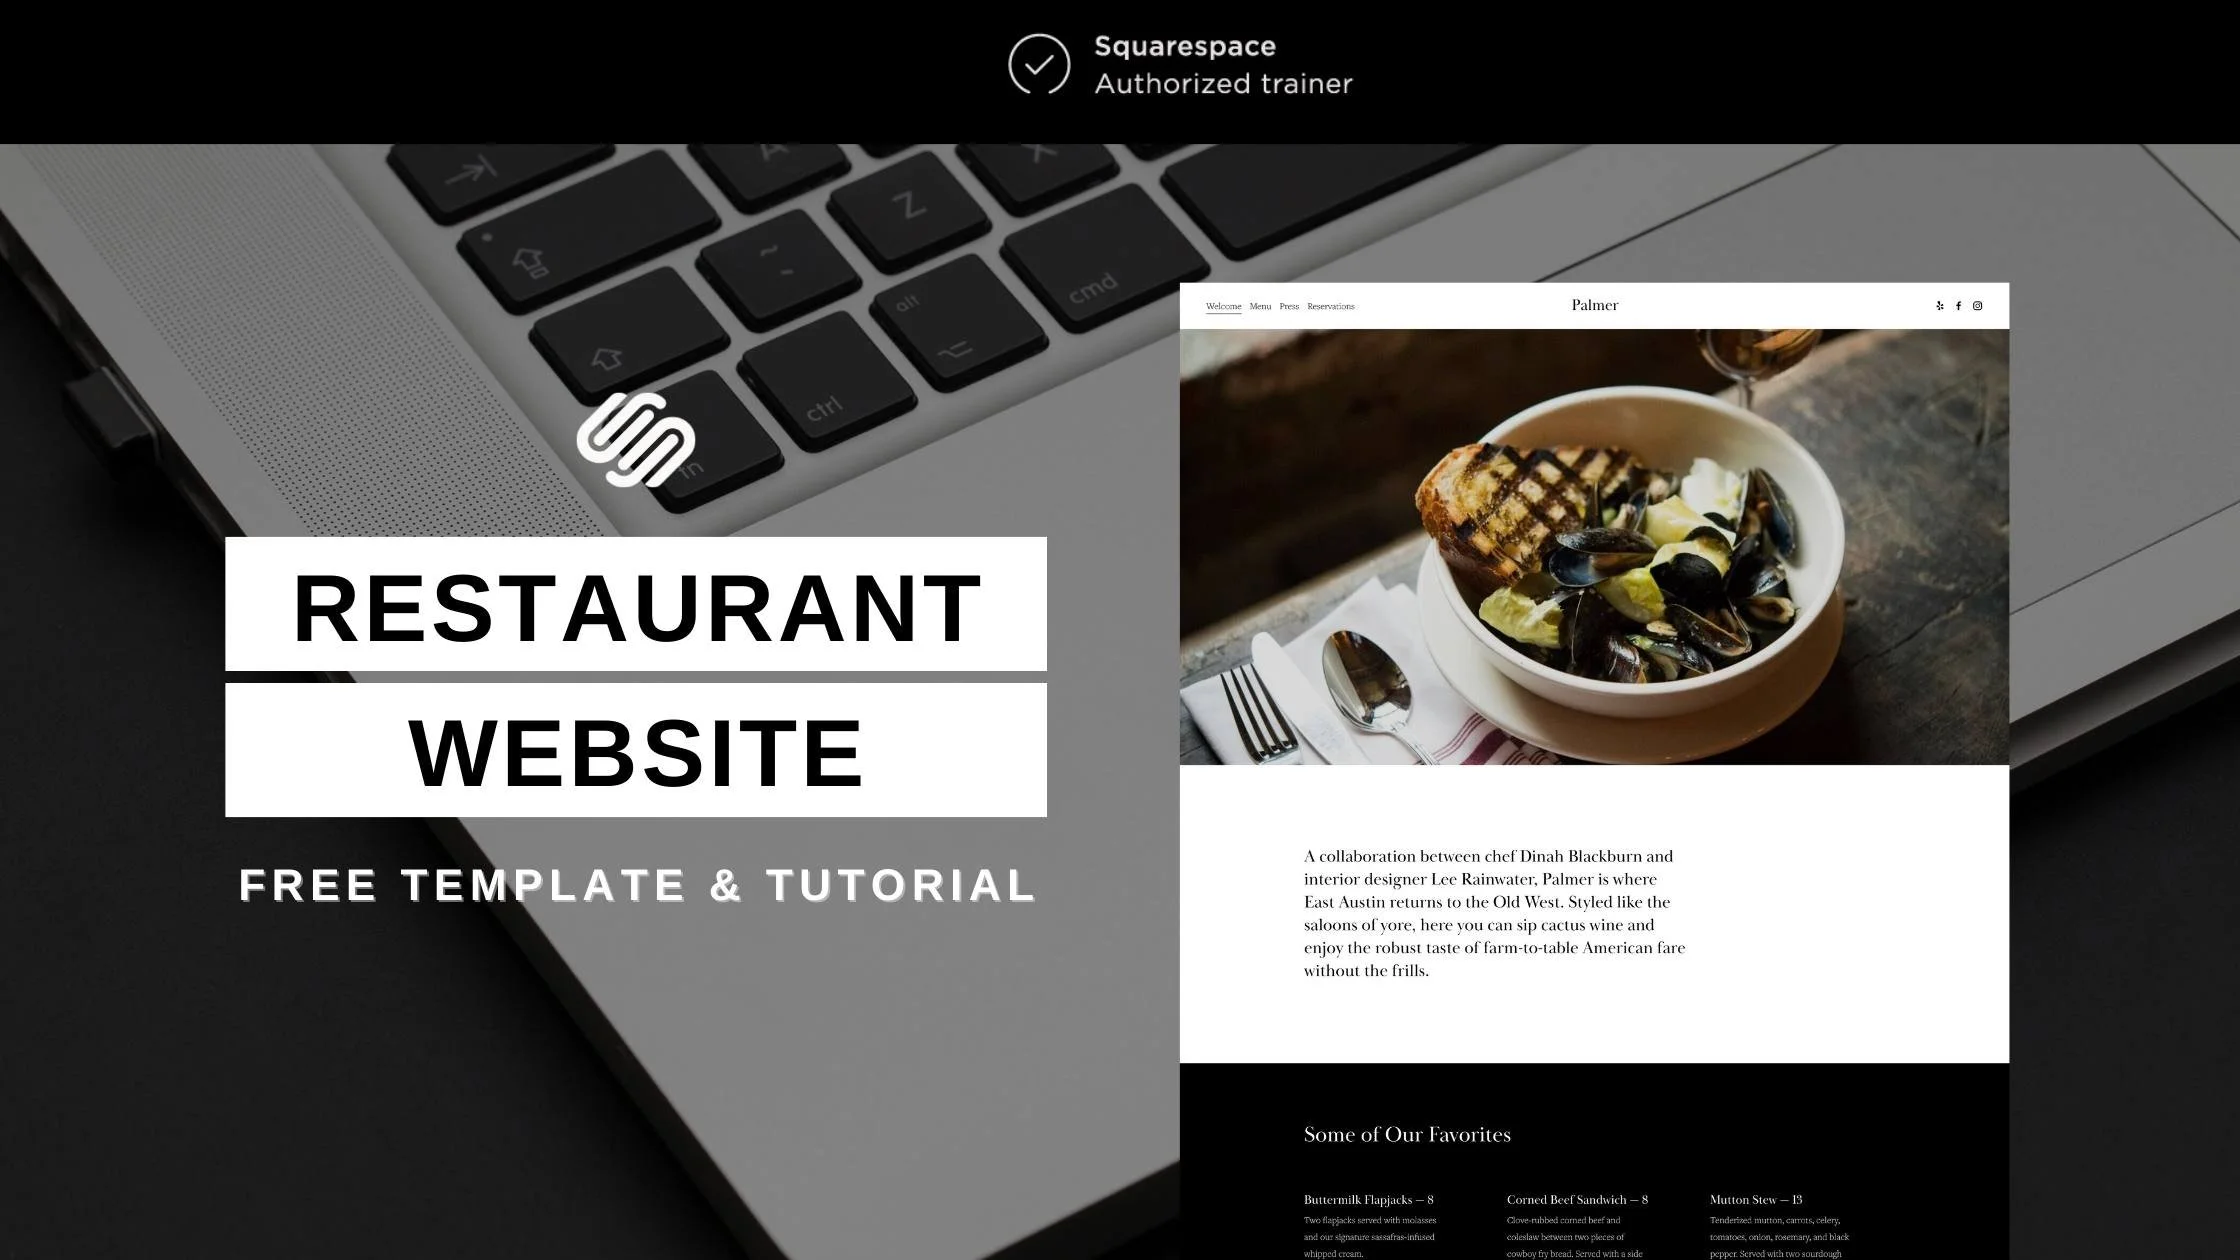
How To Create A Restaurant Website In Under 20 Minutes | Palmer Template Squarespace Tutorial
About this Squarespace video tutorial
Are you ready to create a stunning restaurant website using Squarespace’s Palmer template? Whether you’re opening a new restaurant or revamping your existing site, this step-by-step guide will show you exactly how to customize the Palmer template to fit your restaurant’s brand. Plus, I’ll walk you through essential tips for optimizing your website’s design, layout, and SEO.
Want 20% off your new Squarespace subscription?
Subscribe to the Designing the Row® email list and get the exclusive code sent straight to your inbox. You’ll get email updates when new Squarespace tutorials are published, but you can unsubscribe at any time.
Step 1: Get Started with the Palmer Template
To get started, head over to squarespace.com/templates. Use the search function (command + F) to find the Palmer template and select it to start building your restaurant website. When prompted, name your website (I’ll use "Katherine's Restaurant" as an example) and skip the rest of the setup process.
Step 2: Familiarize Yourself with the Template Layout
Once your site is set up, take a moment to explore the layout. The Palmer template comes with a default homepage design that includes a gallery, menu items, quotes, and contact information. To make it truly yours, we’ll replace these demo elements with your restaurant’s actual content.
Step 3: Brand Your Site with Fonts and Colors
Before diving into content, it's important to establish your restaurant’s branding on the website.
Fonts: In the top right of your site editor, click Site Styles, then navigate to Fonts. You can adjust heading sizes and select font families that align with your brand. If you already have fonts for your restaurant, use them here.
Colors: For a professional, cohesive look, I recommend using a simple palette—white, light, accent, dark, and black. This ensures your website maintains a polished appearance while staying true to your brand colors.
Step 4: Customize Your Header and Images
The header is the first thing your visitors will see, so let’s make it stand out.
To edit the header, click Edit Site Header and adjust the layout, spacing, and color to fit your brand’s vibe.
Replace the default image in the hero section by clicking Edit Section and uploading your own high-quality restaurant photos.
Step 5: Update Your Menu
The Palmer template offers a pre-built menu section, but you’ll need to upgrade to unlock its full functionality. Once unlocked:
Click the pencil icon in the menu block to edit the name, price, and description of each dish.
Replace the default items with your actual menu offerings.
Step 6: Replace Content Blocks
The rest of the page includes sections for your gallery, press quotes, and contact information.
Simply click on each content block to replace the text and images with your own.
For the gallery, select the images you want to feature, and for the press section, hyperlink to actual reviews or articles.
Step 7: Optimize for SEO
SEO is critical for any restaurant website. Here's how to optimize:
Site Title and Description: Go to the Settings tab, and under SEO, make sure to set a descriptive site title (like “Catherine's Restaurant – Fine Dining in [Your City]”). Add a brief SEO description that includes your primary keyword.
Menu Page: The Palmer template includes a page for your menu. Be sure to edit this page with your full menu and use relevant keywords for better search engine ranking.
Step 8: Fine-Tune Mobile Layout
Squarespace automatically adjusts your website for mobile, but it’s still a good idea to check how everything looks on smaller screens. Edit the mobile view to ensure your text, images, and menu are displayed correctly.
Step 9: Add a Reservations Page
If you take reservations online, you can easily add an embedded reservations form. Use Squarespace’s integration with Tock or simply add a Code Block to embed another reservation system of your choice.
Step 10: Launch Your Website
Once everything is set up, it’s time to go live!
Upgrade to a paid Squarespace plan (I recommend the Business Plan for restaurants) to unlock all features.
Connect your domain name and make sure your site is set to Public.
Conclusion
That’s it! You’ve now customized your restaurant website using the Palmer template, and it’s ready to launch. Feel free to share your site with me in the comments once it’s live—I’d love to see how you’ve made the template your own.
The latest Designing the Row tutorials…


![Get Rid of Design That's Holding Your Website Back [Color Palette Tutorial]](https://images.squarespace-cdn.com/content/v1/575f26468259b52cea323757/1761190227942-2GB7ZK1LLICPOAZ8PPX3/website+color+palette+mistakes.png)


