How to make a Realtor Landing Page using Squarespace
About this Squarespace video tutorial
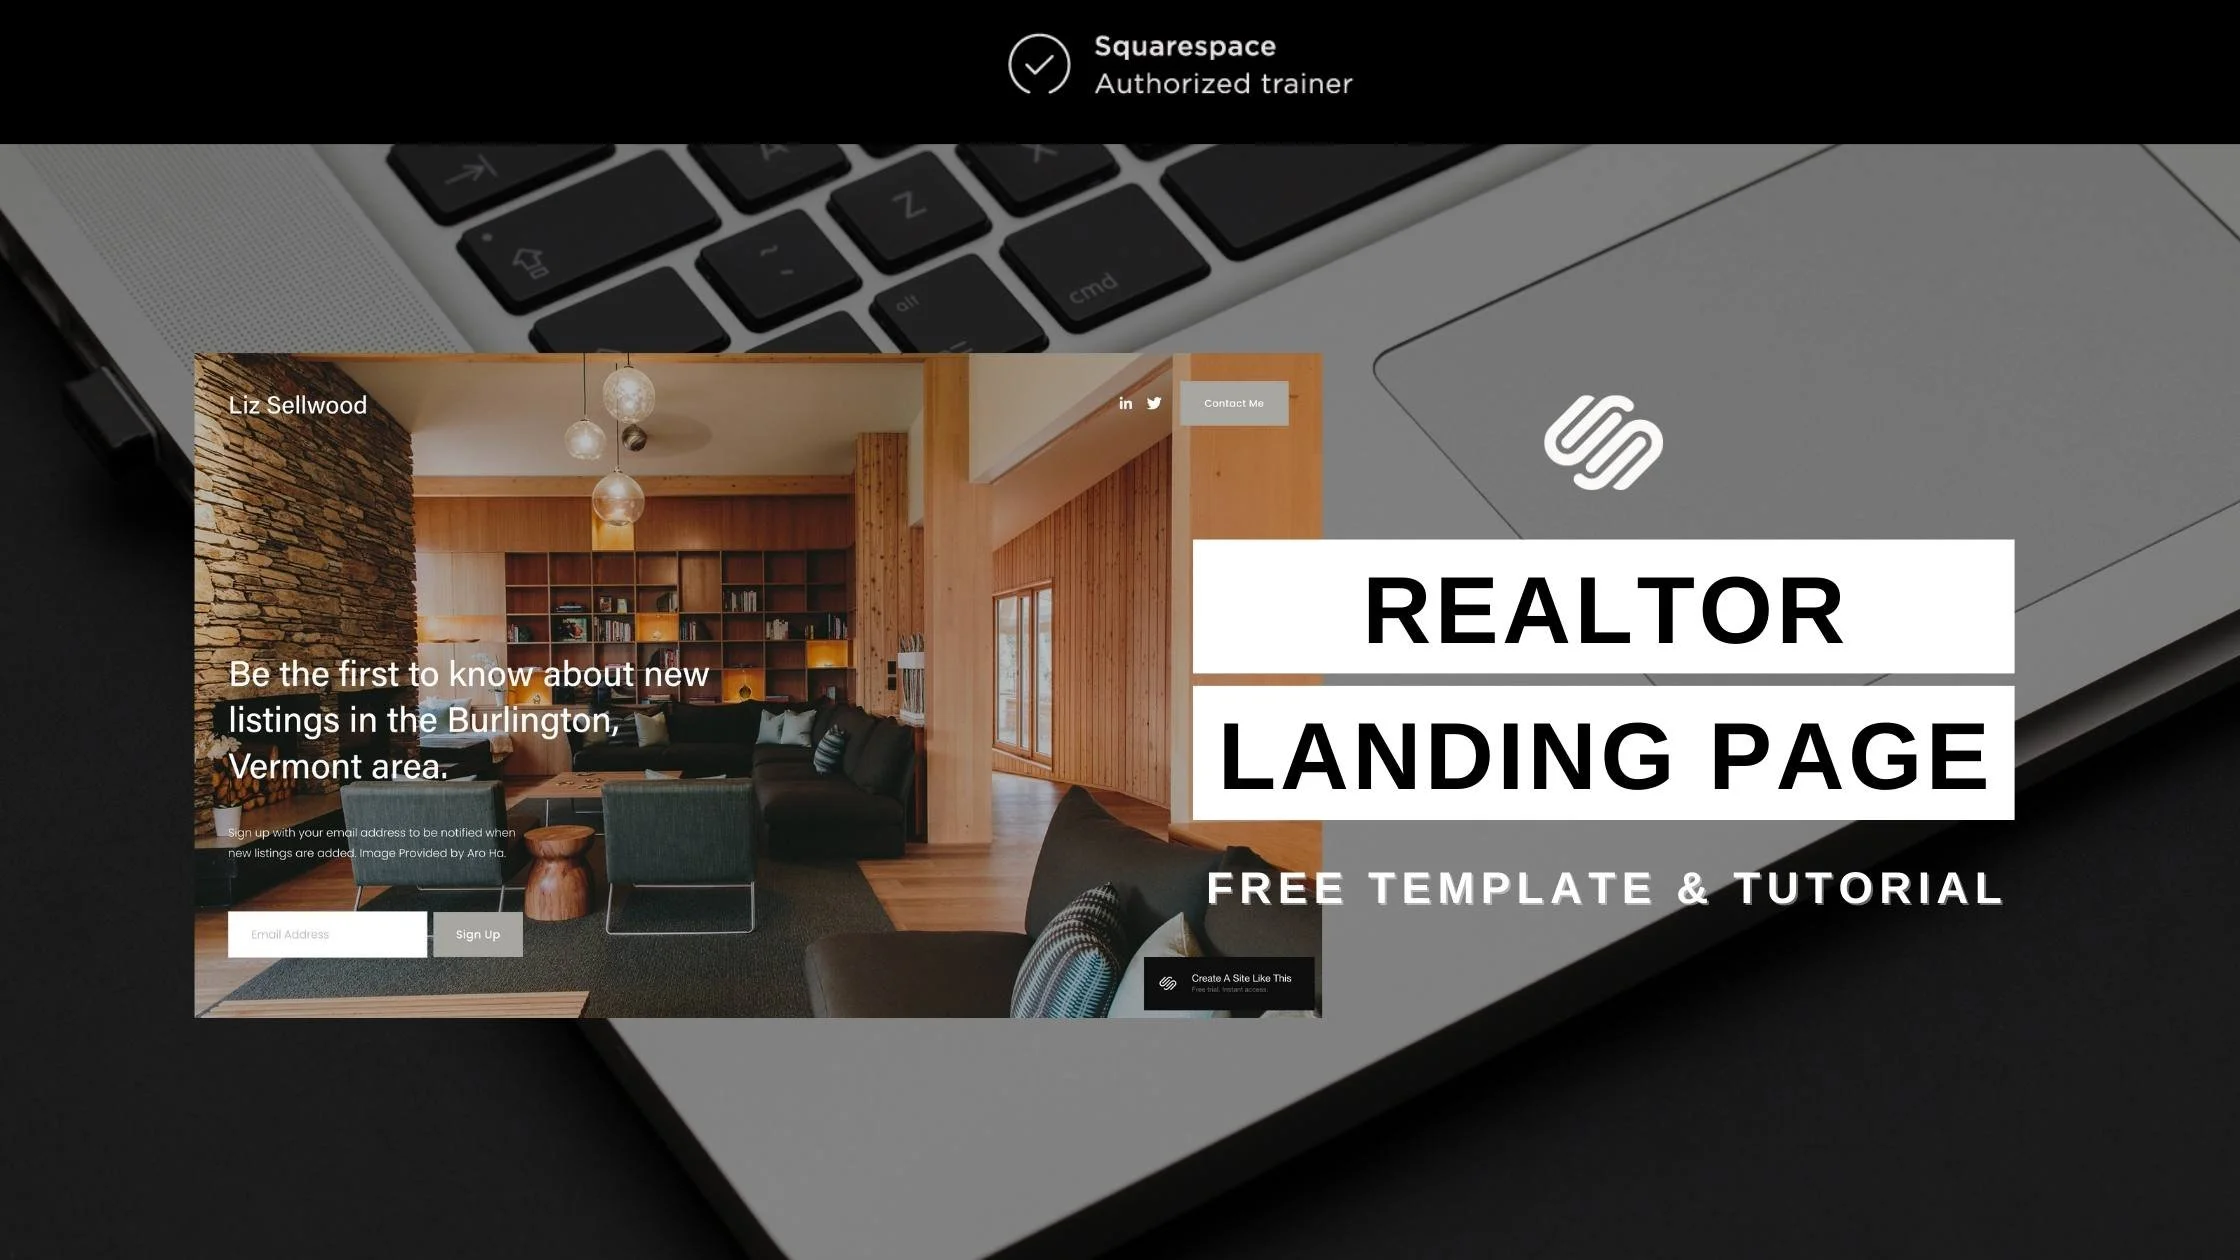
Hello, my Realtor friends! If you're looking to create a website on Squarespace, I'm here to show you how to get started quickly so you can get back to selling and helping clients buy houses.
First, visit Squarespace and go to the templates section. I recommend searching for the "Sellwood" template. This template provides a basic website landing page setup, ideal for a simple online presence, think of it like an online business card.
Timestamps
0:14 Squarespace Templates
3:24 Select fonts
4:28 Set color palette
5:55 Customize text copy
6:30 Realtor reminders
7:09 Email signup form
8:26 Change background image
10:45 Recap & Squarespace Subscription
Want 20% off your new Squarespace subscription?
Subscribe to the Designing the Row® email list and get the exclusive code sent straight to your inbox. You’ll get email updates when new Squarespace tutorials are published, but you can unsubscribe at any time.
Once you find the Sellwood template, click on it and skip the color presets. We'll customize everything shortly. Start by entering your name. If you have a logo, you can add it later. Click "Next" and close any tutorial pop-ups.
Let's dive into customizing your page. First, enter edit mode and click "Edit Site Header." Here, you can add your logo by clicking the pencil icon next to your name and dragging the logo (preferably a PNG file without a white background) into the designated area.
Next, update your social links. Click on the social links section, then the pencil icon, and replace the default Squarespace links with your own social media URLs.
For the "Contact Me" button, click the button and the pencil icon to customize the text (e.g., "Email Me" or "Call Me") and replace the default email with your own.
Now, let's set your Site Styles by clicking the paintbrush icon in the top right corner. I recommend starting with fonts and colors. If you have brand fonts and colors, use those. Otherwise, you can explore the many fonts Squarespace offers. Choose readable fonts and keep it simple with two fonts for consistency.
[Related Post: How to Choose Brand Fonts (Website Friendly Font Pairing Menu)]
For colors, click "Edit" under the color section and add your brand colors. Use a white or light color, an accent color, a dark color, and a black or very dark color to ensure your site looks cohesive.
[Related Post: How to Create a Brand Color Palette]
After setting the fonts and colors, customize the text copy on your site. Click on the text boxes and type in your desired content. Adjust the size of the text boxes by clicking and dragging them to your preferred width.
As a Realtor, remember to include your broker information, phone number, and any other required details by your state or broker. You can add a section in the footer for this information, using any of the provided layouts.
For the sign-up section, you can collect email addresses by clicking the pencil icon, customizing the title, description, and any additional fields. Ensure the collected emails are stored in a place you can access, like MailChimp or Google Drive.
Next, let's work on the background image. Hover over the picture, click "Edit Section Background," and either delete or replace the image. You can upload your own image or browse free stock images. Adjust the image display by moving the circle icon to show the desired part of the image.
Lastly, adjust any additional settings such as background colors and transparency. Save your changes and ensure everything looks good.
To go live, subscribe to Squarespace, which includes hosting fees. Connect your domain name through the "Settings" -> "Domains and Email" section. You can either get a new domain or use an existing one.
That's all for this tutorial. If you have any questions or need further guidance, check out my other Squarespace tutorials or leave a comment. Happy website building, and I'll see you in the next video!
More Squarespace tutorials…